July 31, 2011 - The Bloodstains
We had a really awesome Zombie Karaoke event this year, and it went terrifically. And terrifyingly. The power grids down both sides of the main street died out and we were one of the only businesses with the lights on. And you know how Zombies flock to lighted buildings...
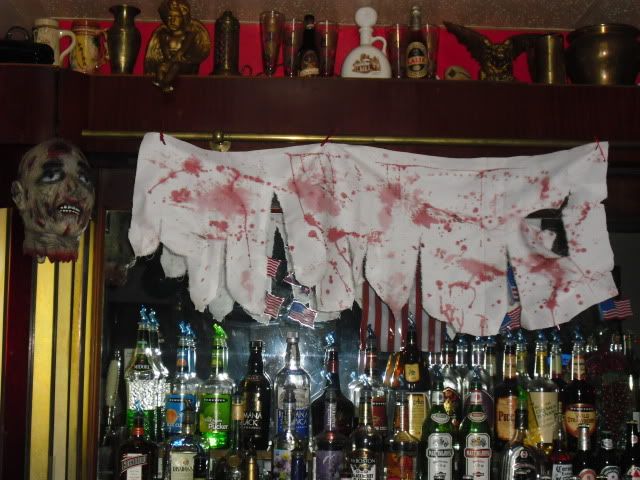
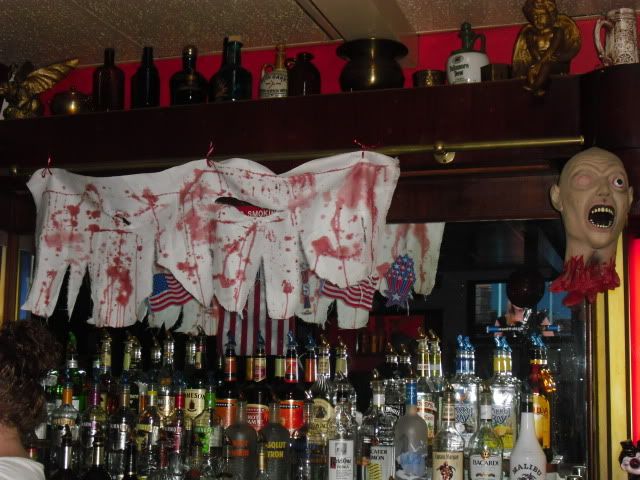
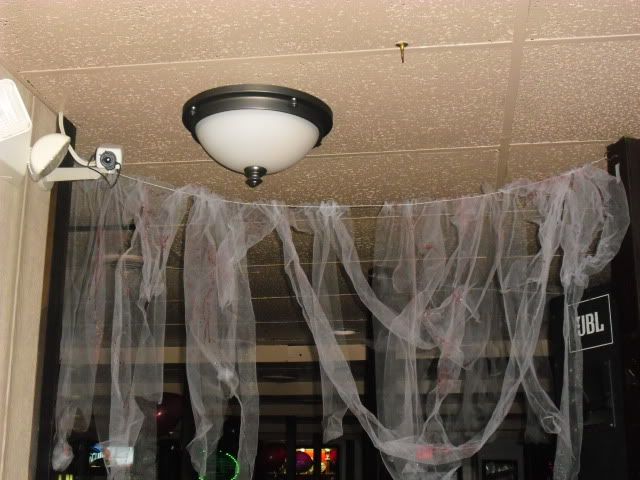
I had such a great time with this project. Basically I wanted to create window treatments for the mirrors behind the bar. I also wanted an eerie looking cemetery shroud effect. I used some aged white denim for the mirrors and tulle threaded on kite string for the shrouds. I horrifically distressed the denim with pinking shears and my bare hands, then did some 'makeshift' stitching with quadrupled red thread. The tulle I tore off at uneven lengths and ripped and tore holes into it, threading it onto the string at odd intervals.
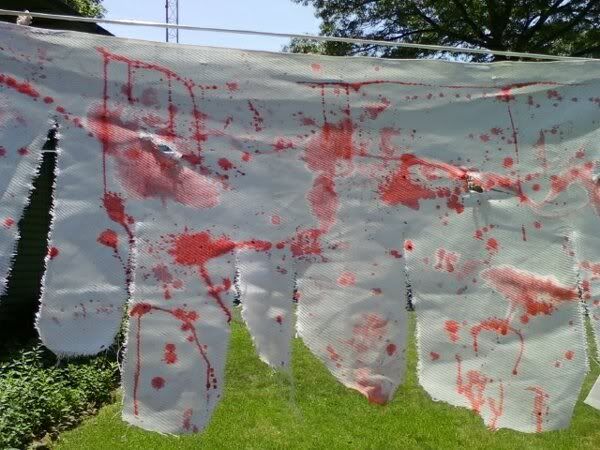
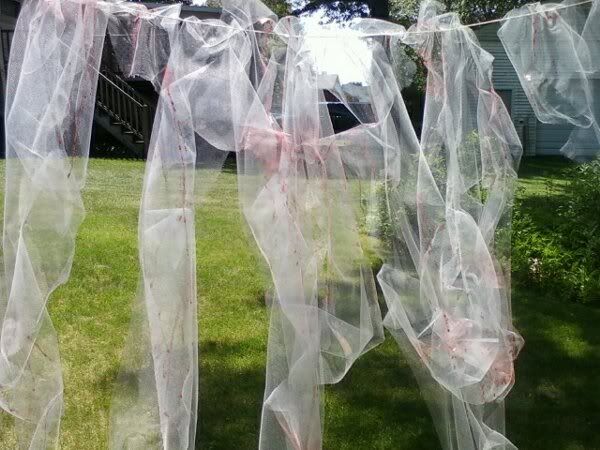
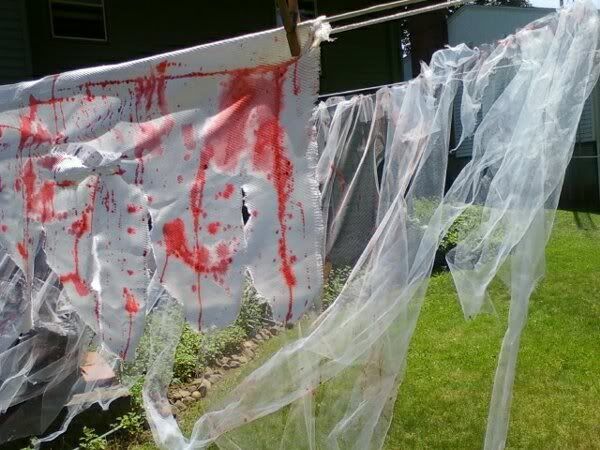
I had two mixtures, a basic mix and a diluted one. I started by spraying the fabrics with an atomizer of the diluted mix. Then, I untwisted the cap and poured it onto the materials. For a decent spread, I splashed the thicker mixture on with a spoon. I also grabbed and tugged at it for some smudging (with rubber gloves!)
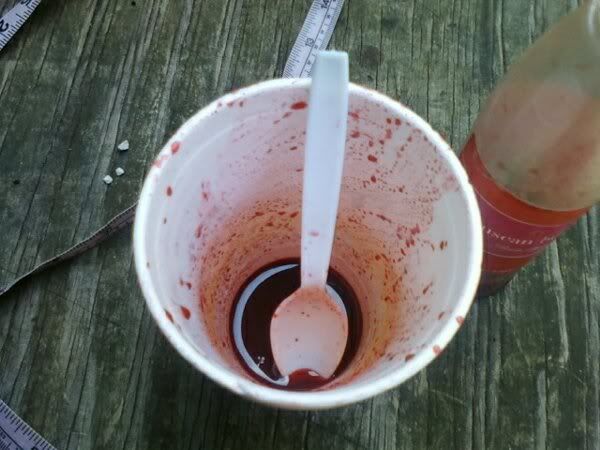
Obviously you can look up ingredients for fake blood or theatrical blood, but I realized I didn't have some of those called-for items in the house, and I had limited funds. So I made do with simple household items.
- Red and Purple Powdered Drink Mix
- Steak Sauce or Barbecue Sauce
- Ketchup
- Baking Soda or Flour (for thickening)
- Soy Sauce (to darken)
- Maple Syrup (for stickiness)
- Hot Water
Remember, with any fake blood, you should use rubber or plastic gloves. Mind the windows for proper ventilation, and lay out newspapers to catch any mess if you're working inside. I had a blast doing this, and the neighbor who was outside playing with her grandkids got thoroughly freaked out.
July 30, 2011 - The Flapper Dress
Our prior Karaoke bartender, Steph, asked me to make her costume for our Roaring 20s party. I was super nervous because at the time, I wasn't really big on sewing tailored garments for other bodies. But I buckled down and made it happen.
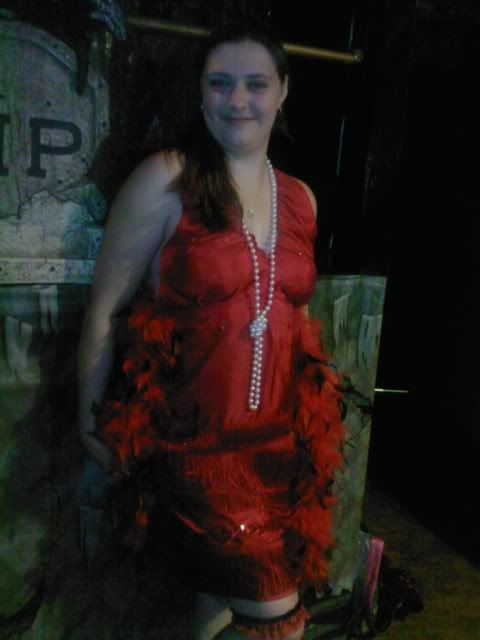
I think the hardest part was the bust. I knew she was planning on going 'fresh' so I had to create a bust piece that would hold up without looking super odd.
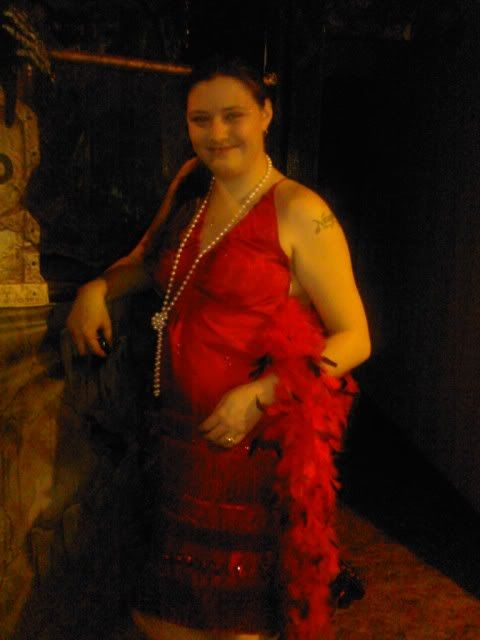
The most tedious part was the detail. I sewed all the fringe, trim, and every single sequin on by hand. I'm amazed how even it came out, and how glitzy it looked.
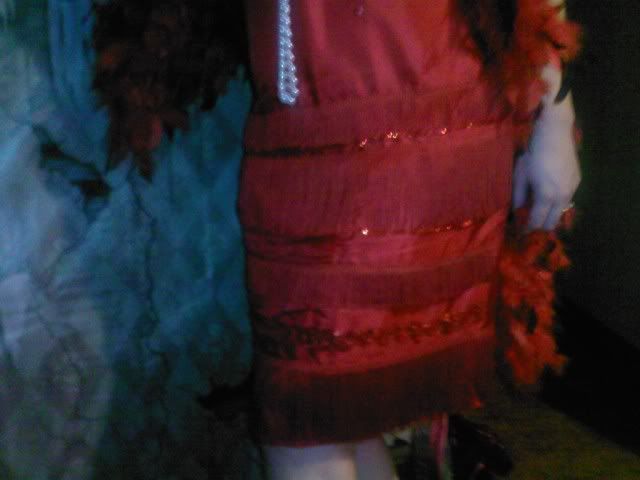
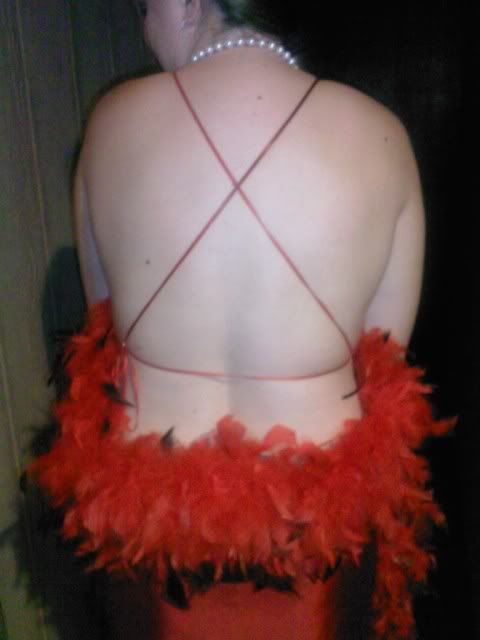
The nude back was kind of a fluke. All I knew was I was GONNA keep her puppies in without sacrificing the style of the dress, but I didn't know how the dress was going to stay on until right at the end. It lasted the whole night and looked really good on her. The photos don't do her justice. This dress was made of red taffeta and the feather boa is removable.
July 30, 2011 - The Diary
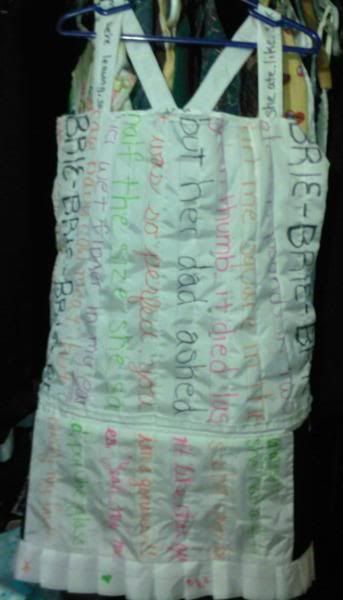
Once upon a time I had a very good friend named Brandon. He's still my friend, but that's not the point. Brandon worked at this company that used different kinds of tape. So I asked him for a roll of fabric tape. I ended up with a really nice-sized roll and no ideas for it. Until I realized the tape looked like notebook paper.
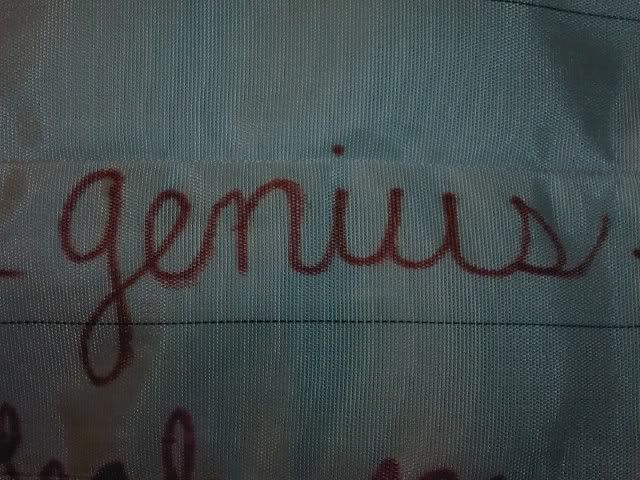
I decided to use real excerpts from my diary for the content
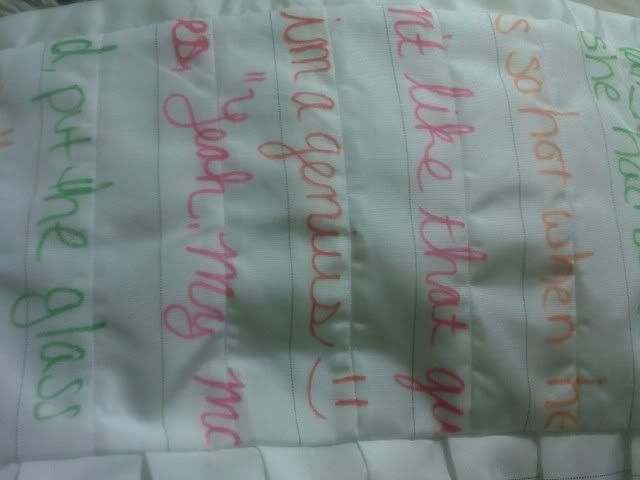
First, I ended up with this skirt, but when I got to the bodice, I decided to put them together.

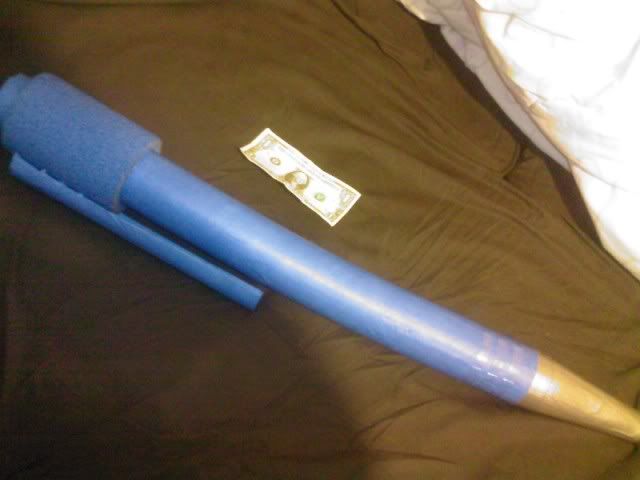
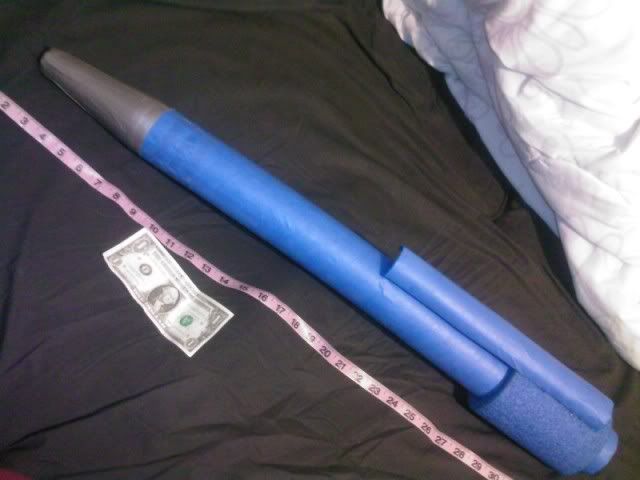
The best part of the whole costume was the prop... A giant PaperMate click pen. I used a pool foamy, a can-insulator foamy, a tulle tube, and a wine cooler bottle for the overall shape. The color came from lots and lots of painters tape and a little silver duct tape, along with some Wite-out for the lettering and clear tape for the tri-band. As you can see, it's a little longer than a meter. I still have this pen and I'd LOVE to make another one someday.
July, 30, 2011 - Disney
I've done quite a bit of Disney-esque dressupery. Mostly I dress up for work when new releases come out or at my other job when we do theme parties. Here are a few of my old favorites.
Peter Pan
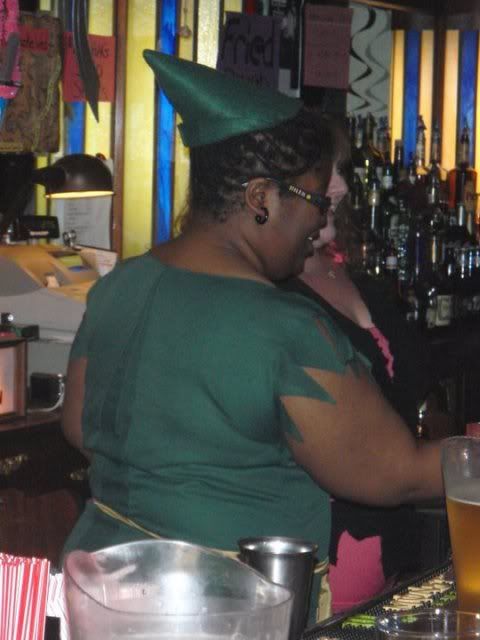
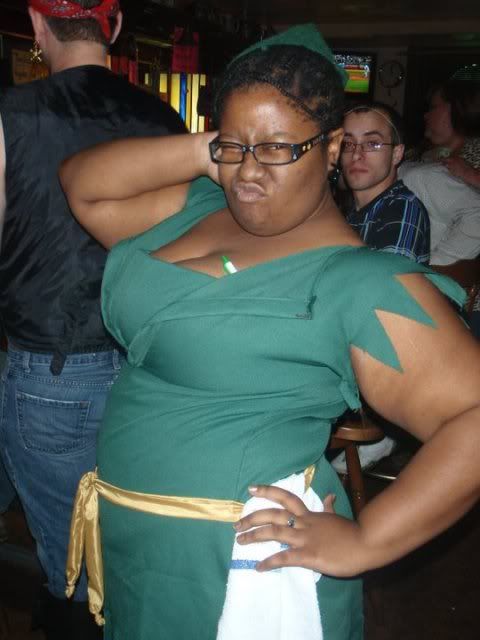
The shift was made from a polyester tablecloth. The belt, from taffeta. The hat is of felt. And the attitude is alllllll me. It was really short, though. I had to practice bending sideways.
This was for a theme party. Actually, the theme was Pirate Night, but I always feel like I should go against the grain somehow, so I dressed as Peter Pan. Every pirate needs an archenemy, and I thought there were plenty of other pirates.
The Red Queen

This Red Queen outfit was cute. I originally wanted to break a dress idea down into pieces so it could be worn different ways or with other costumes.The sleeves are just elasticized tubes, and each skirt tier is a separate skirt. The top was so much fun to make; essentially, I made a heart inside out, sewed the top and bottoms together, then sewed the sides to a bias cut length to close it all up. I was amazed the idea in my head worked in real life. Red ringlets of hair and checkerboard Converse finish off the look.
This 'stume was made for the release of Burton's Wonderland on DVD.
Alice in Wonderland
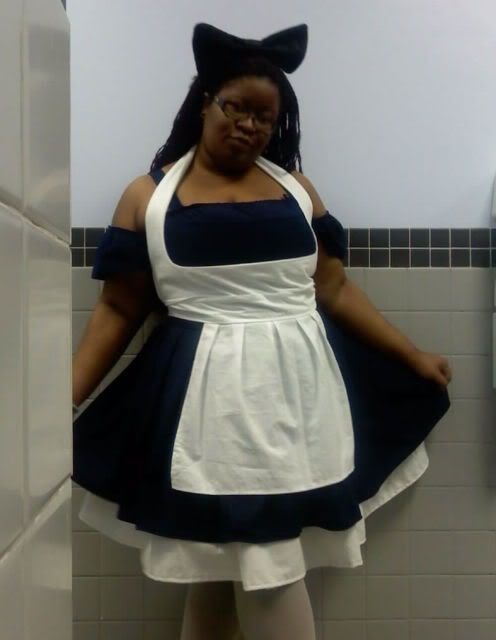
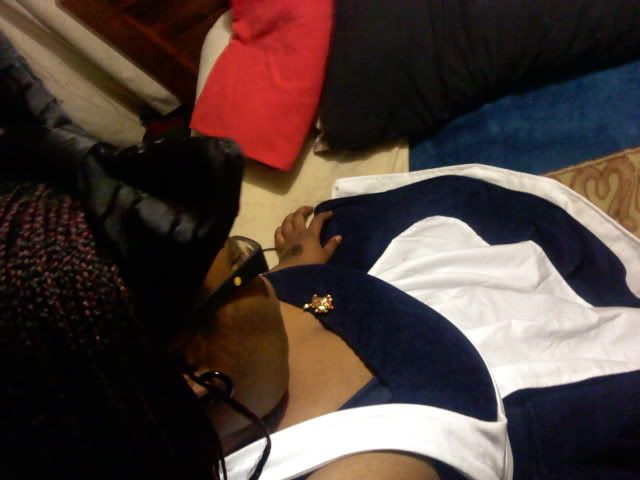
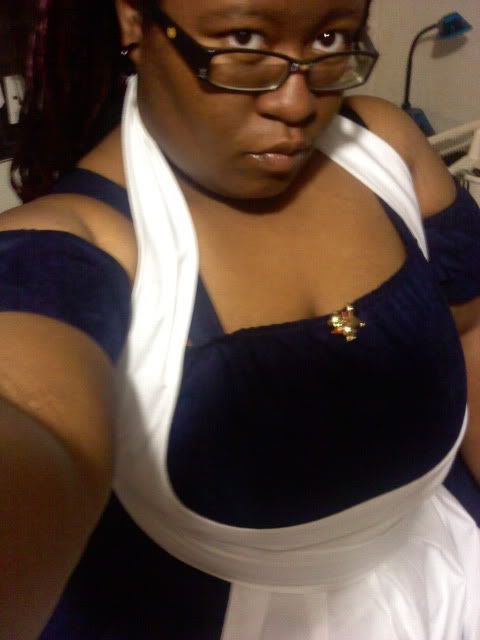

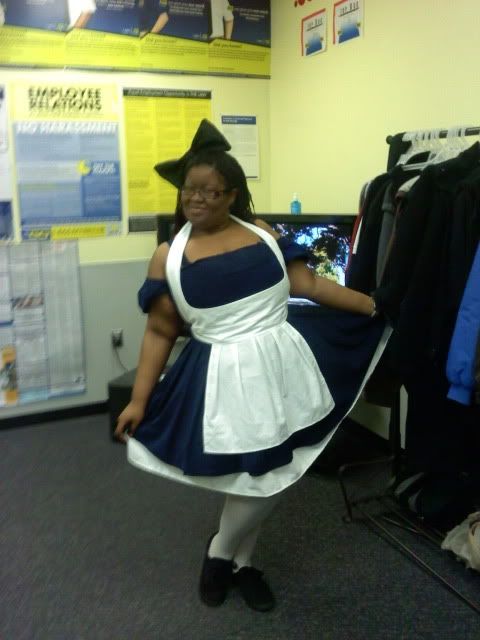
I love Love LOVE this costume. The blue is much deeper than I originally had in mind, but it's the blue intended for the animation. The petticoat is white tablecloth, the skirt and bodice, a navy velour, the pinafore is white muslin, and the hairbow had once been a curtain. The bodice is actually connected to the petticoat for a smoother finish, and the sleevettes are likewise part of the bodice. The skirt is separate because I wanted to adjust the fit frequently. This 'stume is my frkkn favorite and without the hairbow also doubled as a French maid costume for a party later in the year.
Alright, I know I tend to make things overly complicated, but I like them to be aesthetically pleasing and somewhat accurate, so I can't help it.
Items you may not have: Wooden dowel, fabric tape or floral tape, First Aid or electrical tape, high-gauge floral wire, led light (if you want), acrylic paint
Items you do: Scissors; razor blade, Xacto, or box cutter; plastic bags; duct tape
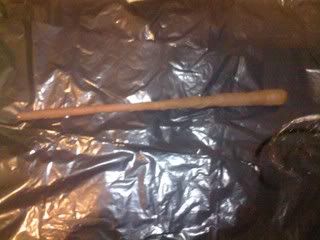
1. After some research, a branch for a natural wand, when plucked, measures somewhere about the length from the crook of your elbow to your middle finger. Whatever suits you is fine, though. Cut your wooden dowel to this length. Mine is about 3/8" in diameter. Yes, start small and work your way up. I promise it will be more sturdy and thicker in the end.
2. Wrap what you choose to be your hand-end with some of the First Aid tape. It's just a marker so if you don't choose to add the LED, you'll know which end is which. Also, if you wrap the just-cut end with this, it will keep the ragged edge from scratching your legs.
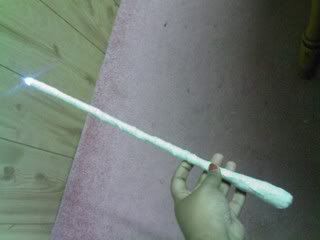
3. If you don't want to add the LED, skip to step 4. I added it for plain awesomeness, and because most natural wands are equipped with a point of crystal. If you want to know where I found this particular LED, let me know. I chose it because it just twists to turn on and off (a simple circuit), because it's super bright like a flashlight, and because its other end has a hole for hanging or tying.
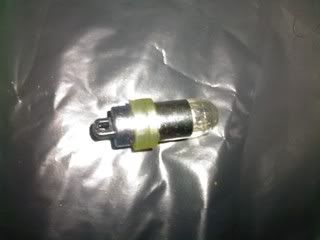
3A. VERY CAREFULLY slice the point of the dowel into half. It will split about an inch, so be careful not to wedge too hard.
3B. Gently plug the split with the end of the LED. Push it until the head hits the tip of the dowel.
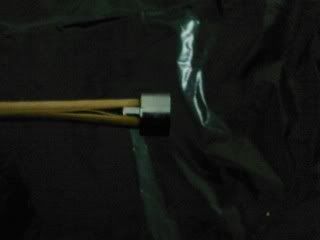
3C. Cover the split by wrapping it with duct tape.
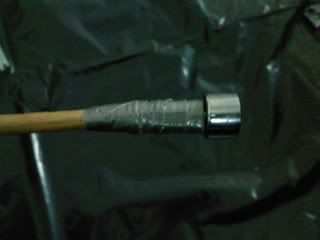
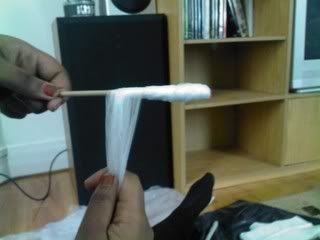
3D. Using the fabric tape, secure the LED base to the tip of the dowel lengthwise the whole way around the circumference.
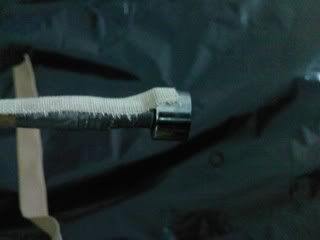
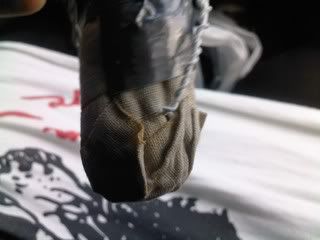
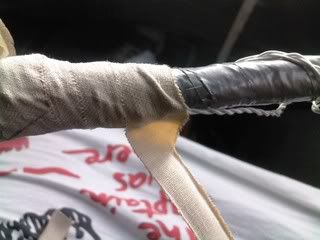
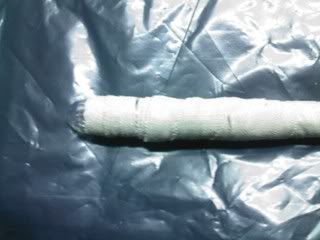
4. Go back to the hand-end and begin wrapping with strips of plastic bags. It doesn't matter how you wrap it, but remember this end should be thick enough to be comfortable in your hand. Use whatever means of wrapping the plastic bags along with the duct tape to acquire the thickness you deem satisfactory. Do this up to the point, but only up to the LED.
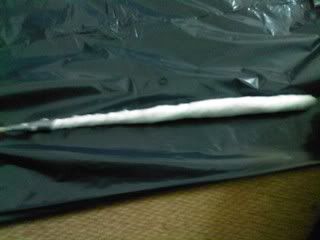
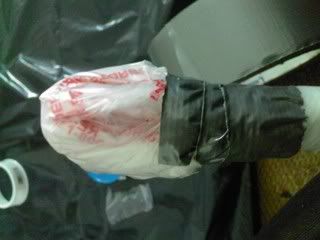
5. Soft-wrap (not tight, but just enough to keep the shape) the hand-end of the stick with floral wire. Then hard-wrap (Rather tightly) the whole stick with duct tape.
6. Using the floral wire, make two (or however many you want) lengths of 'vine'. Mine were two wires twisted around each other, and three wires braided.
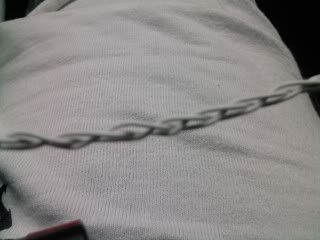
6A. Claw the hand-end of the stick with the two 'vines', and attach with a square of floral tape.
6B. Haphazardly twist and weave the 'vines' around the stick. Make a knot or two for some level of natural vine growth.

6C. Spread out the ends of the wires so they lay somewhat flat against the duct tape.

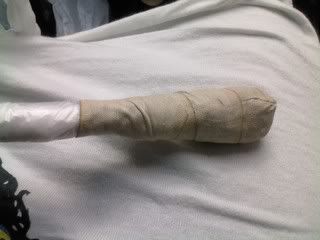
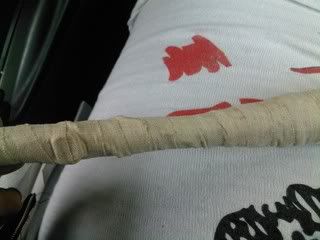
7. Make your final hard-wrap (super tight!) with floral tape.
8. Smile a little. That was the hard part.
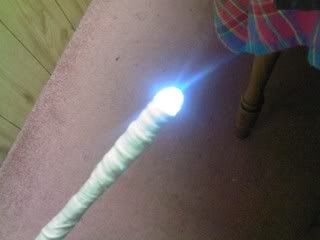
9. Tape the bulb part of the LED with floral tape. The edge of the tape should touch the other half just enough to give the illusion of one solid piece.
10. Twist the LED to the on position.
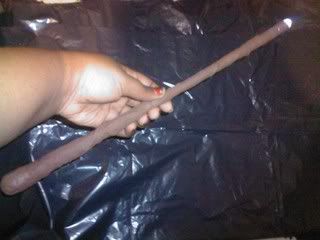
11. Paint the whole thing with brown acrylic paint. The fabric tape helps because the paint will sink into the fabric, and looks more like real wood.
12. LUMOS!
Items you may not have: Wooden dowel, fabric tape or floral tape, First Aid or electrical tape, high-gauge floral wire, led light (if you want), acrylic paint
Items you do: Scissors; razor blade, Xacto, or box cutter; plastic bags; duct tape
1. After some research, a branch for a natural wand, when plucked, measures somewhere about the length from the crook of your elbow to your middle finger. Whatever suits you is fine, though. Cut your wooden dowel to this length. Mine is about 3/8" in diameter. Yes, start small and work your way up. I promise it will be more sturdy and thicker in the end.
2. Wrap what you choose to be your hand-end with some of the First Aid tape. It's just a marker so if you don't choose to add the LED, you'll know which end is which. Also, if you wrap the just-cut end with this, it will keep the ragged edge from scratching your legs.
3. If you don't want to add the LED, skip to step 4. I added it for plain awesomeness, and because most natural wands are equipped with a point of crystal. If you want to know where I found this particular LED, let me know. I chose it because it just twists to turn on and off (a simple circuit), because it's super bright like a flashlight, and because its other end has a hole for hanging or tying.
3A. VERY CAREFULLY slice the point of the dowel into half. It will split about an inch, so be careful not to wedge too hard.
3B. Gently plug the split with the end of the LED. Push it until the head hits the tip of the dowel.
3C. Cover the split by wrapping it with duct tape.
3D. Using the fabric tape, secure the LED base to the tip of the dowel lengthwise the whole way around the circumference.
4. Go back to the hand-end and begin wrapping with strips of plastic bags. It doesn't matter how you wrap it, but remember this end should be thick enough to be comfortable in your hand. Use whatever means of wrapping the plastic bags along with the duct tape to acquire the thickness you deem satisfactory. Do this up to the point, but only up to the LED.
5. Soft-wrap (not tight, but just enough to keep the shape) the hand-end of the stick with floral wire. Then hard-wrap (Rather tightly) the whole stick with duct tape.
6. Using the floral wire, make two (or however many you want) lengths of 'vine'. Mine were two wires twisted around each other, and three wires braided.
6A. Claw the hand-end of the stick with the two 'vines', and attach with a square of floral tape.
6B. Haphazardly twist and weave the 'vines' around the stick. Make a knot or two for some level of natural vine growth.
6C. Spread out the ends of the wires so they lay somewhat flat against the duct tape.
7. Make your final hard-wrap (super tight!) with floral tape.
8. Smile a little. That was the hard part.
9. Tape the bulb part of the LED with floral tape. The edge of the tape should touch the other half just enough to give the illusion of one solid piece.
10. Twist the LED to the on position.
11. Paint the whole thing with brown acrylic paint. The fabric tape helps because the paint will sink into the fabric, and looks more like real wood.
12. LUMOS!
No comments:
Post a Comment