OMC. I like clothes a lot. Purely because shared nudity isn't a big favorite hobby of mine. So imagine my delight when I learned from Mom Jones that I could one day be able to make my own clothes!?!? Africanmazing. No, A-Frickin-Mazing.
July 30, 2011 - T Shirt Recons Rock On
This skirt was a Jager tee I found at Goodwill. It was technically a practice piece and I pretty much wear it around the house.
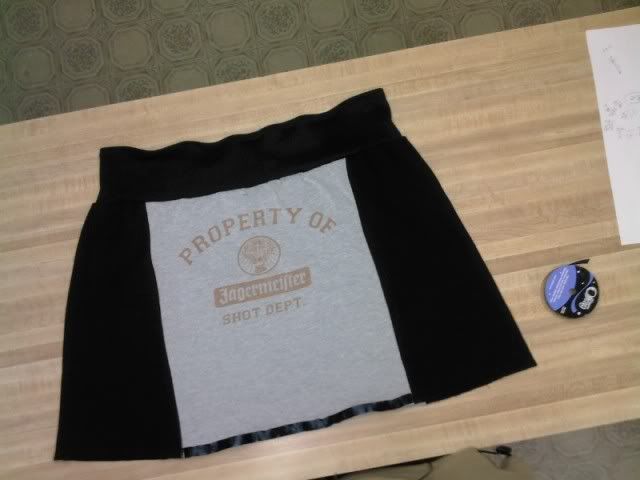
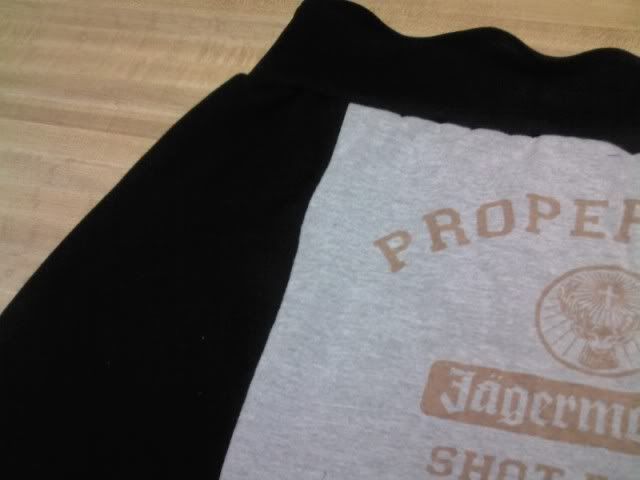
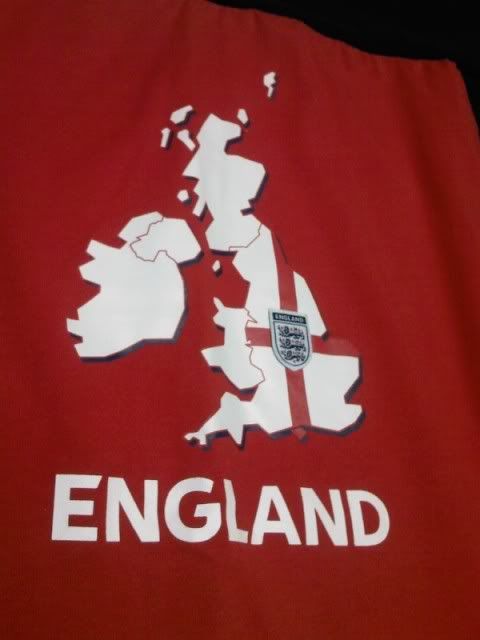
This tee kind of screamed out my name as I walked by. My favorite color? And my favorite accent? (Laugh!) I kind of had to have it. I love the squared corners reinforcing the side slits, too.
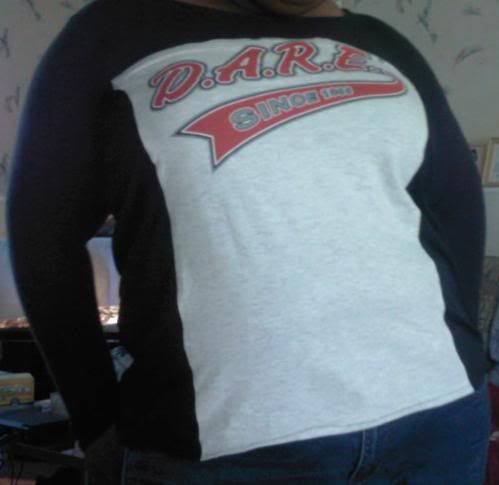
Everybody needs a D.A.R.E. tee... to massacre. Seriously, D.A.R.E. is about as memory-lane-ish as you can get without cartoon characters or bad screen-print portraits.

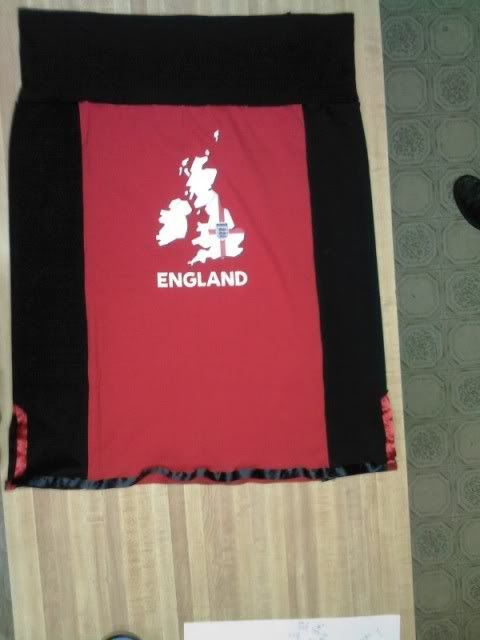
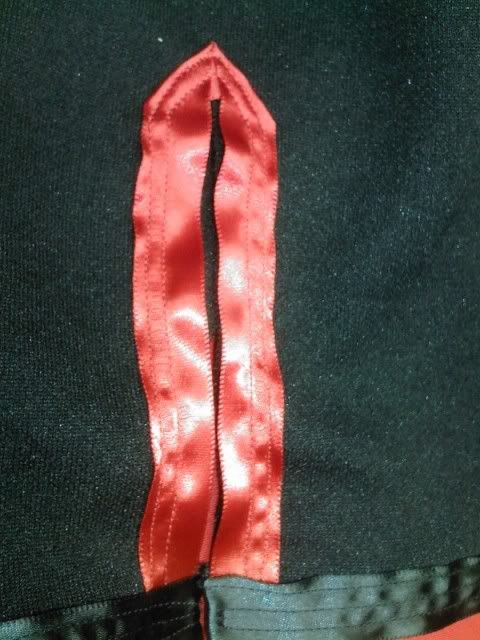
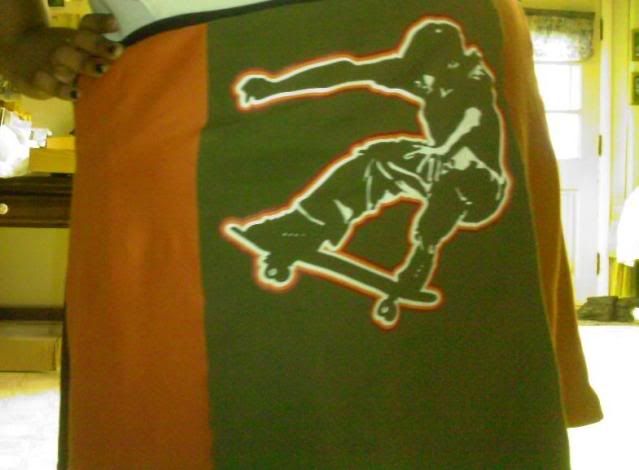
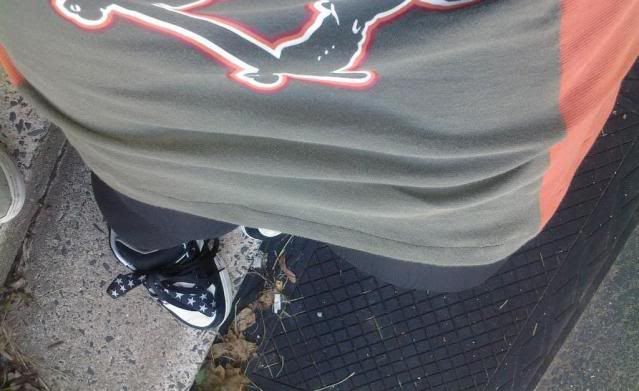
The Skate Skirt is one of my saddest possessions... purely because I can never find a shirt to wear it with. I don't have a red one the right length, I don't have an orange one with short sleeves, and I can't find a green one the right shade. Black works, but what fun is that? Also it's weird as heck because I ran a zipper down the right rear upside down... just for visual effect.
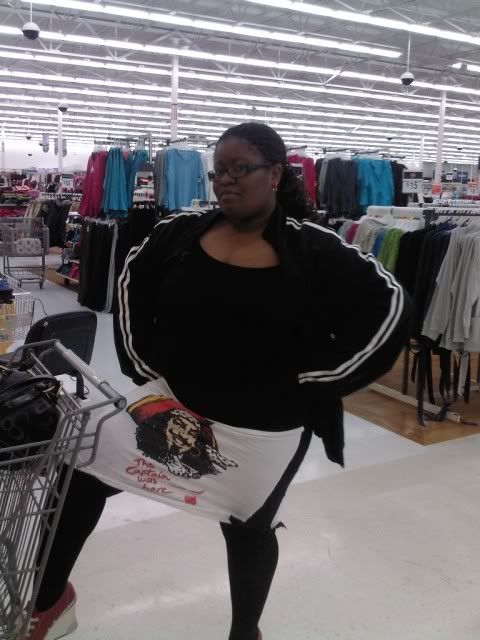
The Captain Morgan skirt was kind of a wreck. I had no idea what I was doing and I made it too small. But, whoops- duh. I'd made a pencil skirt. Best. Day. Ever. That was a fun adventure in Wal*Mart.

July 24, 2011 - The Halter Vest Pattern
I originally came up with this idea because I wanted a waistcoat type of vest for my White Rabbit costume, however, because the fabric was gridwork, I didn't need a pattern, just to measure and cut the squares. I realized it would be great for tshirts.
Begin with a large sheet of paper. Pattern paper, grid paper, sketch paper, newspaper, or even muslin. Whatever you fancy.
Step 1 - Measure your UNDERBUST, and divide in half. Make this line on your paper, about 8" from the bottom. (For example, if you measure 36" around, this line should be 18" in length on the paper.)

Step 2 - Measure from the BUST CENTER (middle of your chest) to your front UNDERARM (just where your arm hits your side when at rest). Mark this on your pattern line from the left.

Step 3 - Measure from the NAPE CENTER (the back of your neck) to your UNDERARM (From the back to the front, not behind you.) Make a straight vertical line of this length beginning at the point of Step 2.

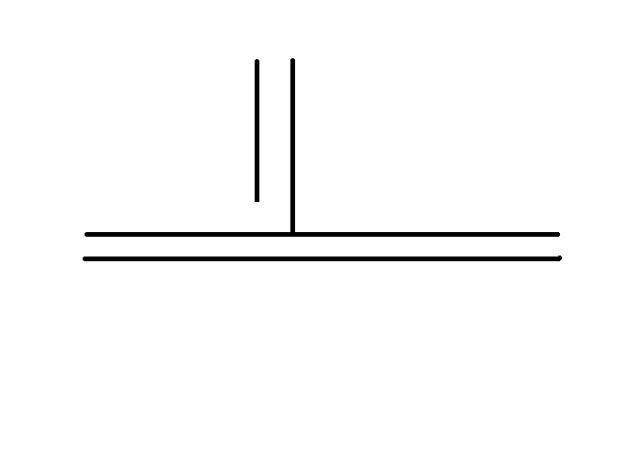
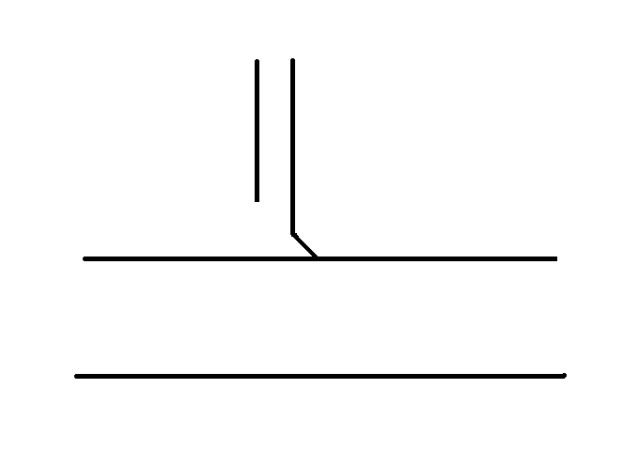
Step 4 - From the line at Step 3, draw a parallel vertical line three inches from right to left and two inches shorter.
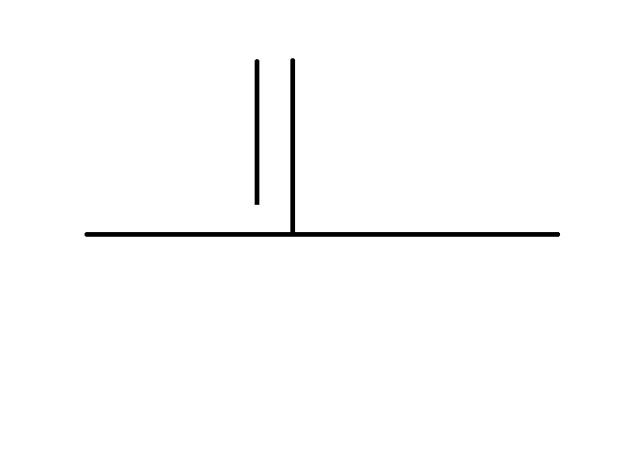
Step 5 - Make a horizontal line parallel to your underbust line, the same length but two inches lower.
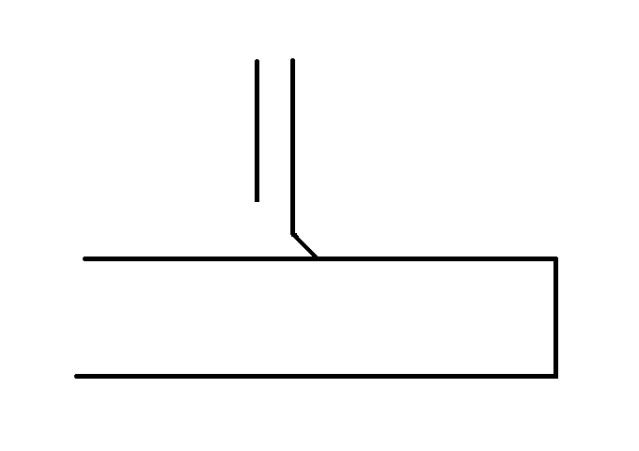
Step 6 - Make a mark where the line at Step 3 would fall onto Step 5 if extended, then another point two inches to the right.
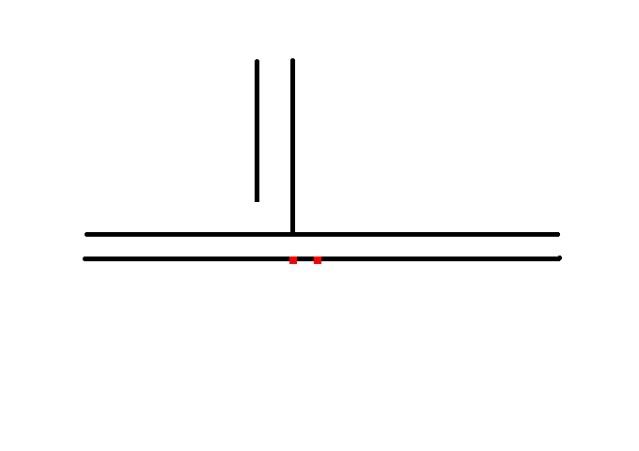
Step 7 - Cast a diagonal line from the vertical line to the second point in Step 6.
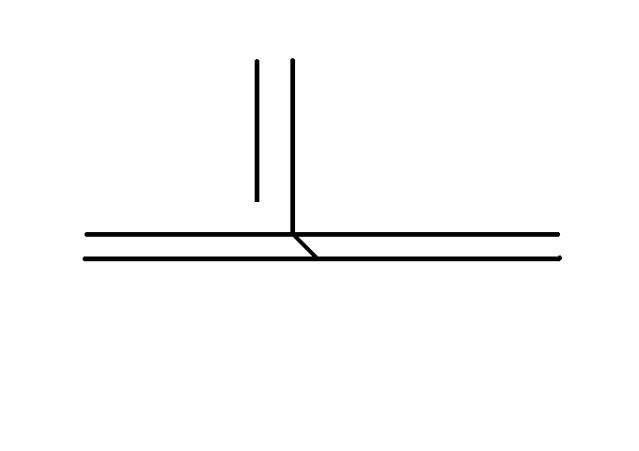
Step 8 - Erase or cross out your original line from Step 1.
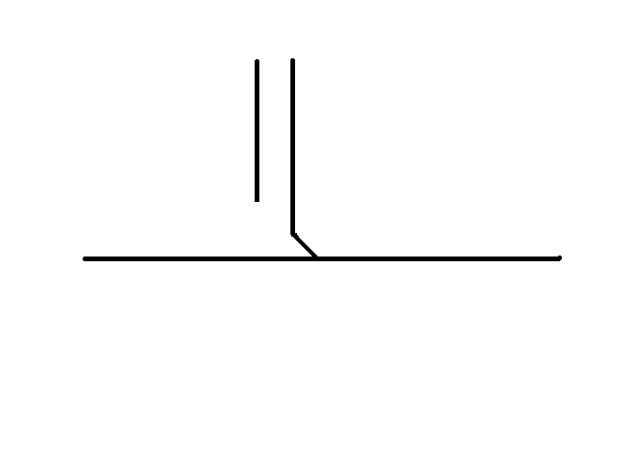
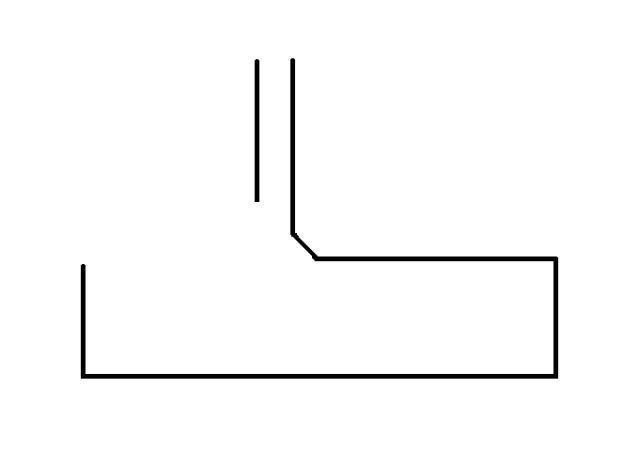
Step 9 - Make a new parallel line horizontal to the one from Step 5. This should be the width you want the vest in the back: about 5-6 inches.
Step 10 - Connect the right edges of the horizontal lines.
Step 11 - Connect the left edges of the horizontal lines, and erase or cross out the top horizontal line from the left edge all the way to the diagonal line.
Step 12 - Connect the left vertical line to the vertical line from Step 4.
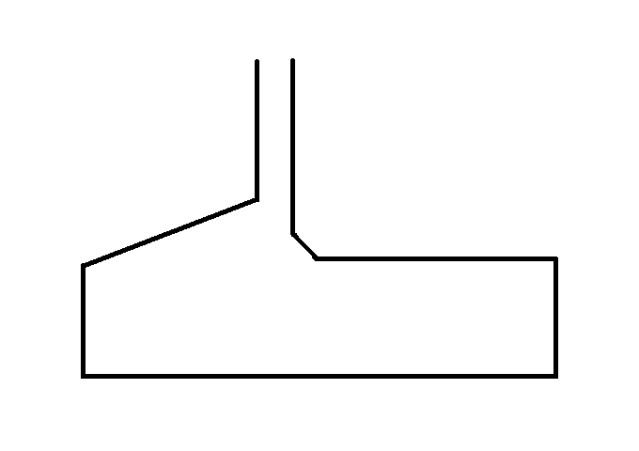
Step 13 - Connect the two vertical lines.
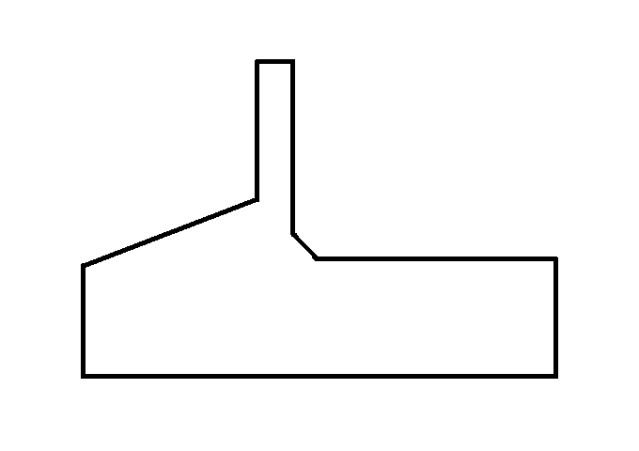
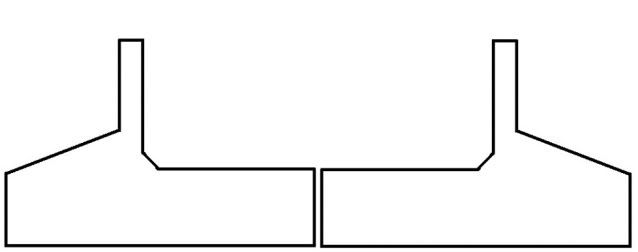
Step 14 - Once you cut this out on a t shirt, your two fabric swatches will look like this:
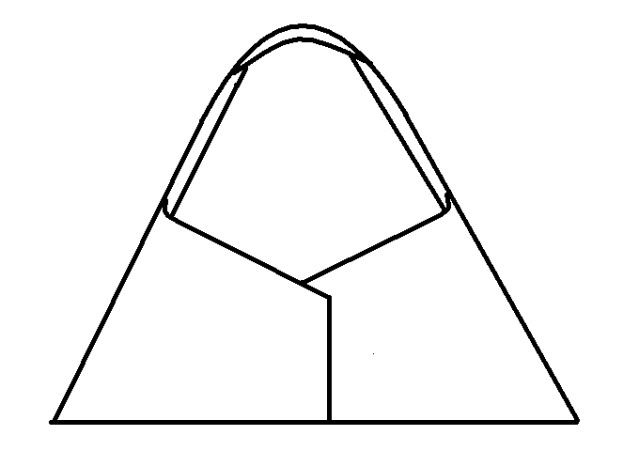
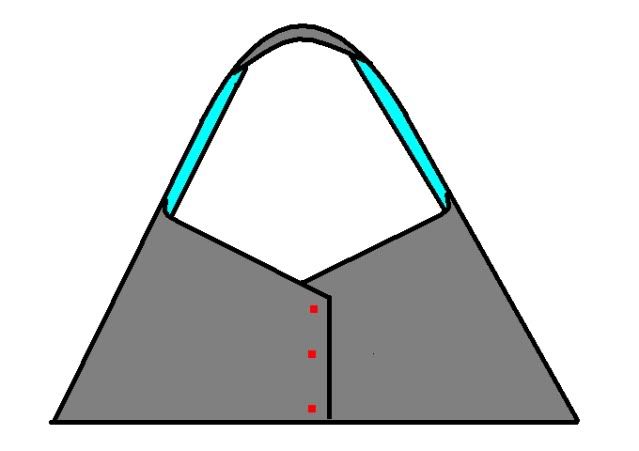
Step 15 - Sewing the pieces together will make it look like this, and you can either sew the opening closed, or add buttons.
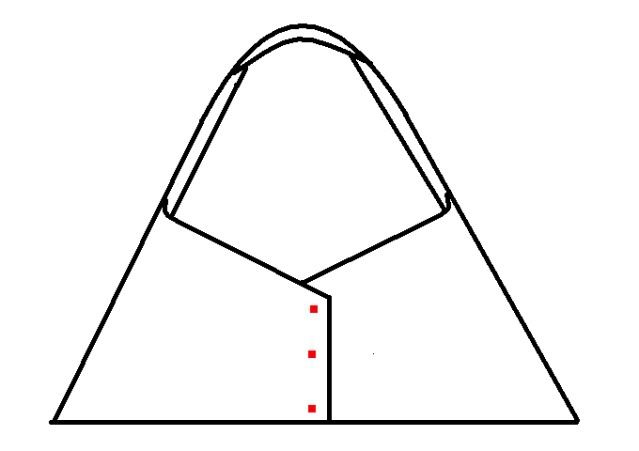
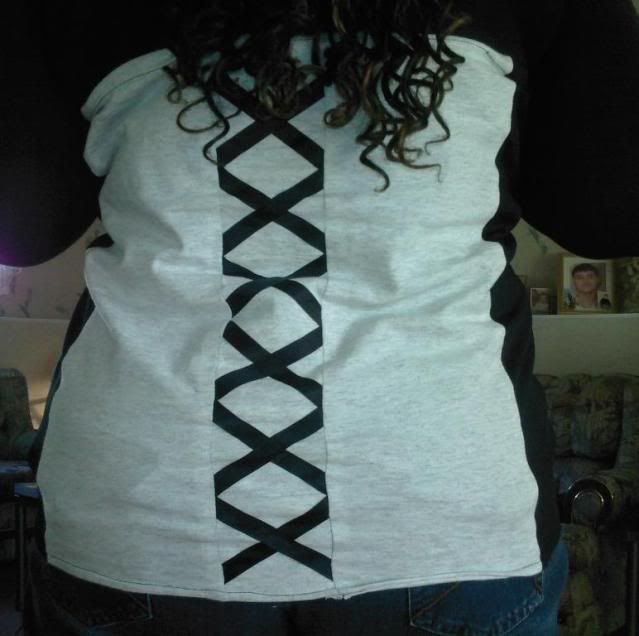
Step 16 - If you make it reversible, the finished product will look like this:

For step-by-step instructions on sewing the vest, watch the video!
Do you learn better from written instructions? Become a follower!
Anything you'd like to see? Please ask!
Thank you for your support :)