August 5, 2011 - The Pillow Movement
I make a lot more pillows than necessary, including blood-pool pillows... They're easy and cute and why the heck not?
Neck Pillow
Fortune Cookie Pillow
August 5, 2011 - The Great Re-Psych
Aluminum Can Votives
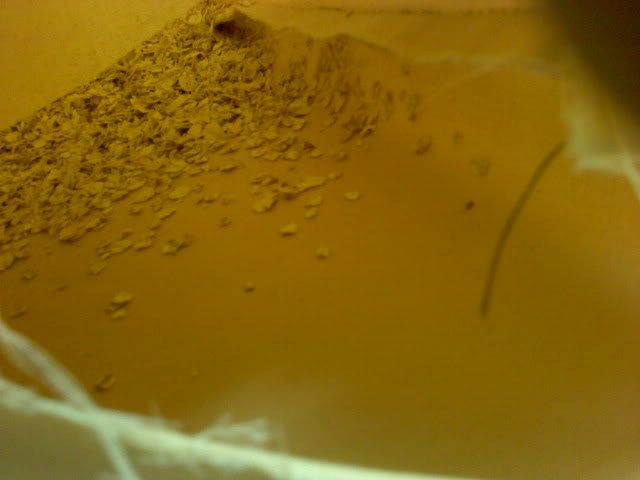
July 31, 2011 - The Oatmeal Heating Pad
I really liked this heating pad. The heat retention was great and it was attractive when I traveled. Unfortunately, my mom stole it. She loved it, too. Then I went to heat it up for her, and I wasn't paying attention to the time and FizzleFizzle: I burned it. If you have bad microwave communication, do not make this heating pad. The zip bag one below will work much better for you.
Step 1 - Cut two squares, triangles, rectangles, circles - what have you - from your fabric. I chose to use Egyptian cotton. I'm not hoity toity, I just had a manacled bedsheet and wanted to be creative. And seriously, it's so frkkn smooth and soft, how could I not?
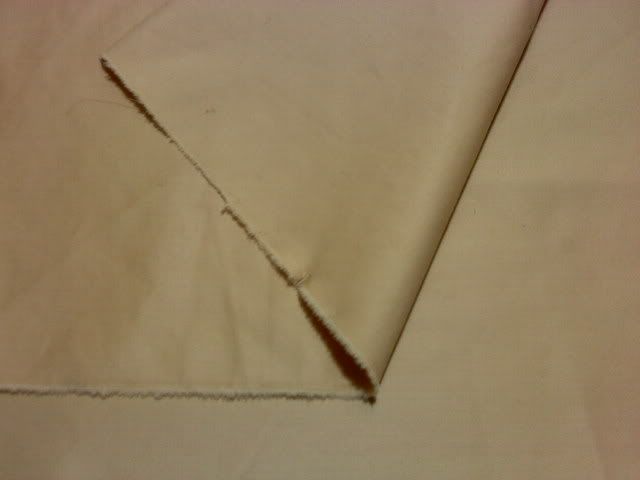
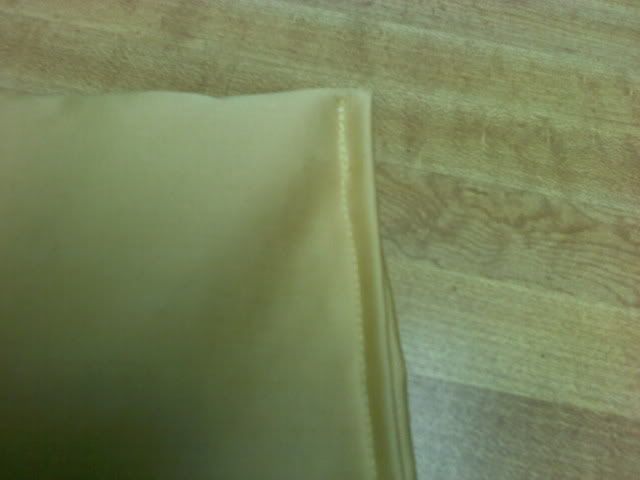
Step 2 - Pin the layered pieces to each other, right sides together. Then sew a stitch all around it, leaving one side open. Cut small right angles in the corners (if you have corners) to make it easier to turn.

Honestly, I didn't use matching thread until closing it up.
Step 3 - Turn it inside out and poke the corners so they'll be square. Tuck the open edge inside about an inch.
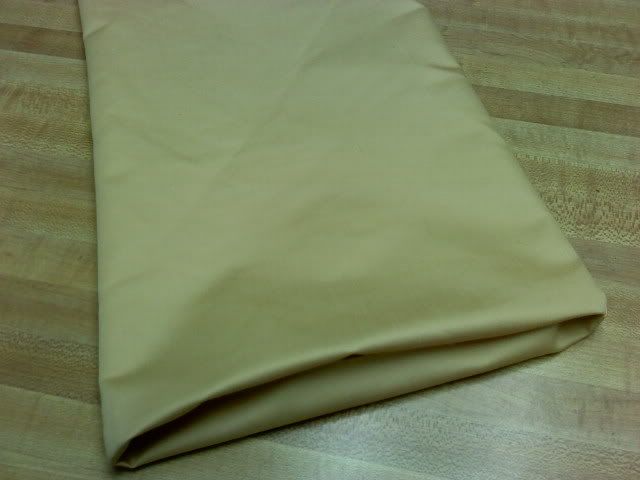
Iron the edges to structure them.
Step 4 - Get your oatmeal out. Depending on how large the area of your pouch, you'll probably want enough oatmeal to make a 1/2 inch layer.
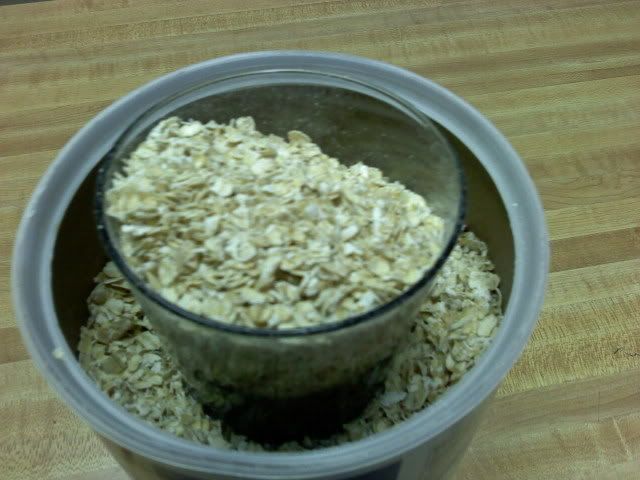
Use discretion. If you feel like it's too much or too little, you can open the seam and try again.
Step 5 - Sew around the edge of the pad, closing it up. You can also edge off the whole pouch, but it's not necessary. It takes some prodding and flipping to get all the oats to move out of the way of the needle.
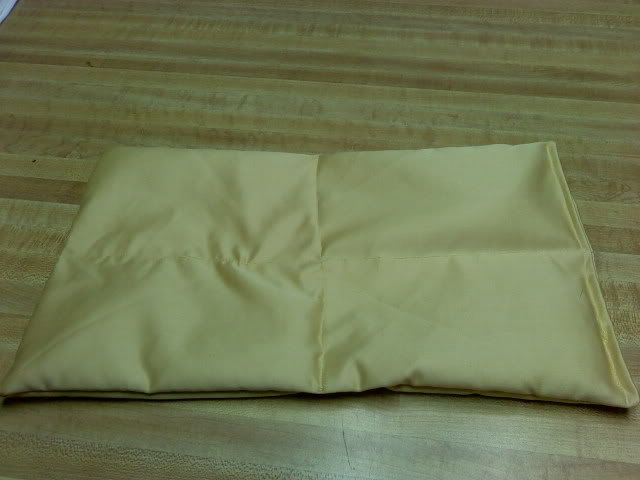
You can also sew 'channels' into the pouch. Do this right after step 3. You can do a few horizontal lines, some vertical ones, or a perpendicular intersection like mine. I didn't stitch all the way through the center so the oats had some leeway and I could still even it out when it got tossed around. It makes the bag easier to use around your neck or in your hoodie pocket when your hands are cold.
Step 6 - Heat it up. Place the pad in the microwave with a cup of water. This is very important because you don't want the oats to dry out completely; and then you'll just be cooking the bag. I put mine in a dish because you know how even clean microwaves can hold that little drop of oil on the plate.
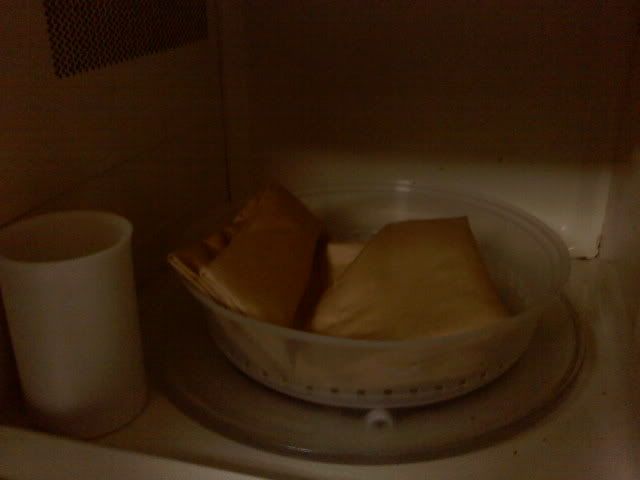
You can warm it for 1 to 2 1/2 minutes depending on the strength of your microwave oven. Do not walk away from it if you have it in longer than 2 minutes.
Step 7 - Take it out and enjoy the sweet, sweet smell of comfort!!!
I swear, when this bag is warmed up, it smells like fresh baked cookies. The aroma will woo you and the warmth will soothe you and the sheer swell of accomplishment will enthuse you. Promise, promise.
July 24, 2011 - Heating Pad from a Sweatshirt
It's four in the frickin' morning and you're wide awake for whatever reason... and because the rice is predestined for dinner tomorrow, you need to use something else.
Ingredients: One old sweatshirt; One strip of velcro (both sides); One gallon-size freezer bag; One old towel; Scissors; Sewing machine; Water; Microwave.
1- Lay the freezer bag over the shirt and outline the shape leaving 3/4" seam allowances on the bottom and sides, plus two inches extra on the top. Cut this out.

2- Cut a strip of velcro (hook side and loop side) to fit the width of the fabric, about two inches short of the actual width. Set aside.

3- Flip the fabric so both wrong sides are out.

4-Sew around the sides and bottom, leaving the top open.

5-Turn the pouch inside out.

6- Sew the hook velcro to one top edge, hooks facing out.

7- Match up the loop side to the other top edge, fuzzy side out. Repeat.

8- Fold your towel so it just about fits the freezer bag.

9- Wet the towel with water until it's saturated. Gently wring just until it stops dripping. Place the towel into the freezer bag.

10- Heat the open bag in the microwave. 2 minutes is moderately warm, heat to your liking. EXERCISE CAUTION: CONTENTS WILL BE HOT. Duh.

11- Tuck the pouch lips inward, like so.

12- Insert the freezer bag.

13- Purse pouch lips together and flatten to seal.

14- Gaze adoringly at your new provider of comfort.

16- Go back to bed with a renewable heat source.
I sure am...
(Yeah, and a sweatshirt with a palm tree and 'Bahamas' written on it IS an oxymoron. I'm not complaining, I just didn't want to go this year.)
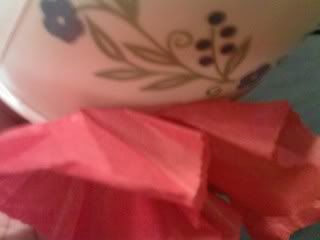
Materials needed: A paper or plastic cup, scissors, double stick tape or rubber cement or glue, string, a razor blade, tissue paper.
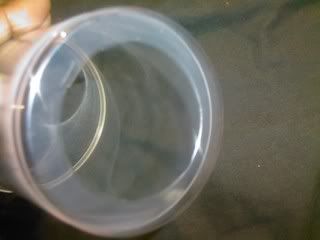
Step 1 - Choose which way your cup will hang. Cut the bottom out (optional) and punch two holes for your string.
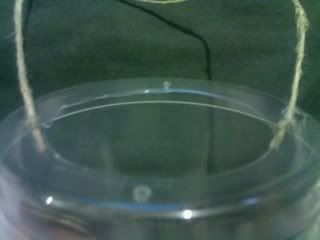
Step 2 - Thread the string through the holes and tie off the ends.
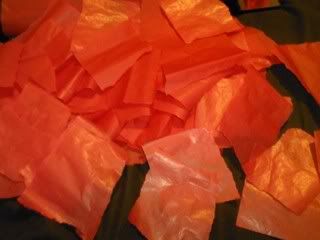

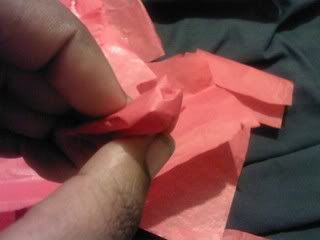
Step 3 - Shred your tissue paper into squares about 2x2". You may choose to cut it, if you want sharper lines.
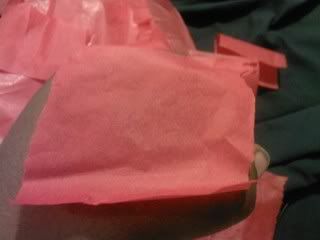
Step 4 - (For Dipping) Coat your cup with a fine sheen of glue or cement. Let it sit a moment to gain some tack.
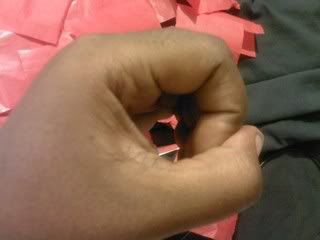
Step 5 - Cup your hand to make a hole that will fit your thumb, sit a square on top, then poke through with your index finger or a marker. With the paper on your finger, dip it into your glue. A little dab'll do ya.
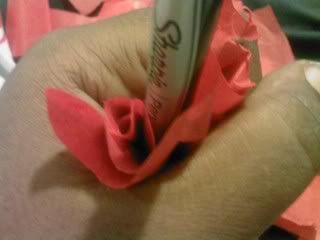
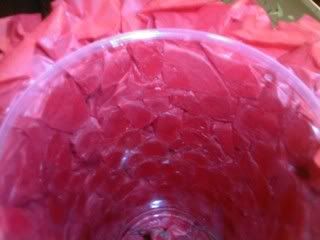
Step 6 - Poke the scrunched paper right under the rim of the cup.

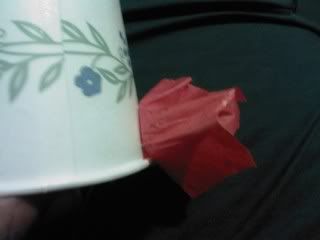
Step 7 - Work around it until you have the edge done.


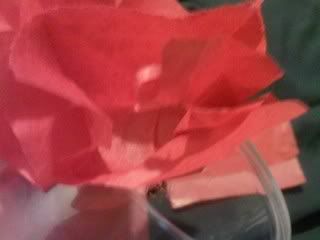
Step 8 - Keep going until you finish the whole cup, including the opposite end. Cover the whole outside.
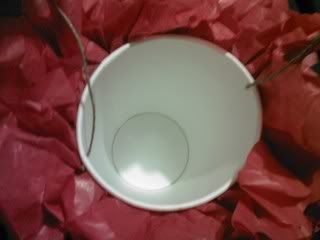
Inside View
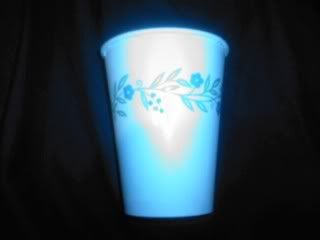
Finished project

Do you like this project? Have you used this method before, or remember it from childhood? Please post comments, I'd love to hear from you :)